Yikes! It’s been almost a year since my last post. I won’t bore you with too many details, but I put my build on hold because of some home remodeling. Track & Field slid down the priority list. Work didn’t completely stop, but my blog certainly did. Remodeling took much more time than I was expecting – just like every other project I take on – but I’m back. Last time, I promised more information on wiring, so let’s jump in.
First up is the power supply. Dropping a power strip into the cabinet and plugging all the devices into it is what I’ve seen most people do. Honestly, this isn’t a bad solution, but it’s not what I did. Just to reiterate, I’ve been trying to go for a more-authentic-to-the-real-thing build. I used a real switching power supply, like you’d see in a properly refurbished or brand-new arcade game. Let me be clear, this was a giant pain in the ass. It also violates my keep it simple philosophy.
In order to use the switching power supply for everything, I had to alter power cords. For the Micro USB that powers my battery (and ultimate the Raspberry Pi) I bought an Amazon Basic cord, cut off the female end, stripped back the wires and attached some terminal ends. Components like the amplifier and network switch came with their own DC adapters. I cut off the wall warts and attached terminal connectors. A huge problem with this is that I’ve been doing all my wiring with 18GA copper strand wire, and the power cables and USB wires are much smaller gauge. This makes it difficult to get crimp on connectors that will stick and not pull out.
I should have used this instead, then I could have used my heavier gauge wire instead. I bought one, and when I accidentally destroyed it I decided I could just strip back some cheap USB cables instead.
If you watch the videos that Todd Tuckey puts up for his TNT Amusements business, you’ll see that Frank laughs off modern games that use power strips internally or where they neglect to put in any fuses. I had the power supply covered, but the next move was to install some fuses.
I used a fuse block and a grounding bar which I wired most everything to. This worked out well, because I could keep everything on its own voltage and amperage, use a common ground and keep the organization sane. Voltage and amperage requirements were determined by looking at the specs for some of the things, and others I was able to figure out by looking at the wall wart bricks I cut off.
Wiring the monitor’s power supply worried me, but turned out to be easy. I cut the end off the monitor’s power cord, crimped on terminals, and connected it to the same hot, neutral and ground wires that feed the swicthing power supply.
That’s all for now. More about wiring to come. The next post will cover one of the harder challenges I faced in this build: wiring up the coin mechs with a coin meter.
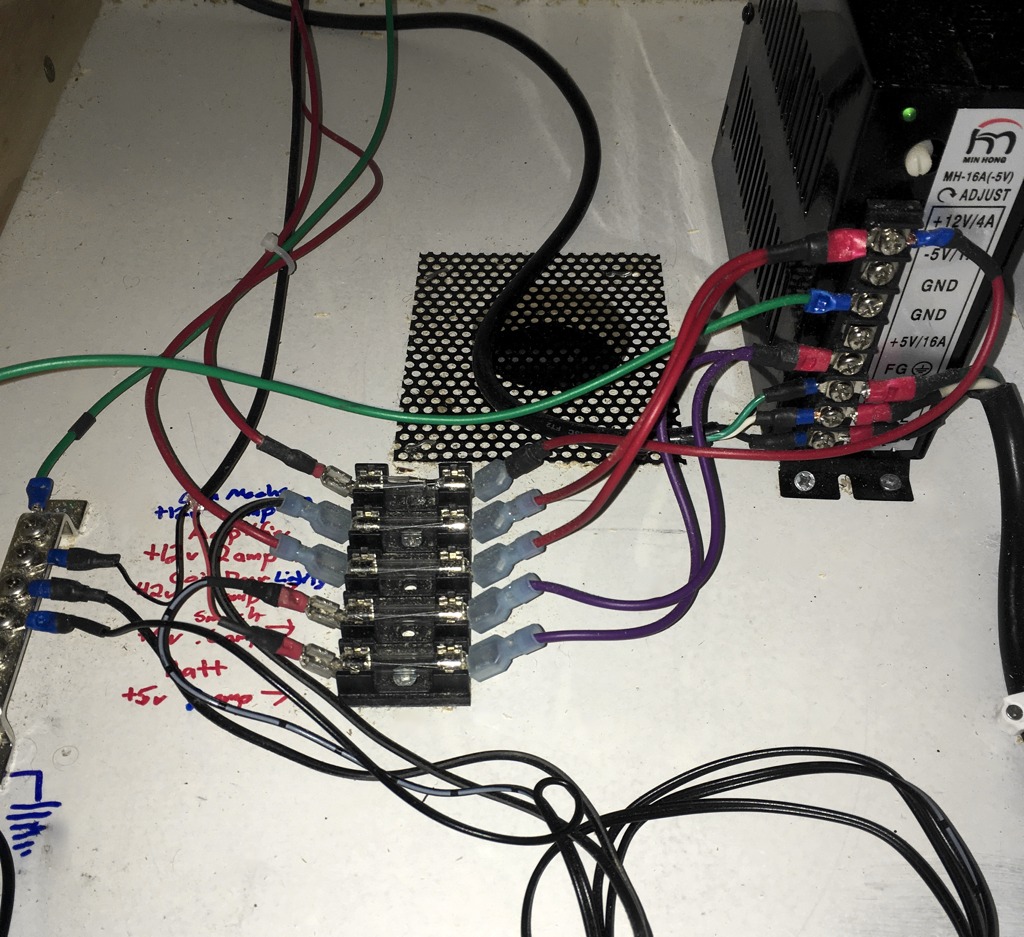
From left-to-right: the gound bus bar, fuse block and switching power supply. Difficult to see, but I wrote in all of the fuse amps and what they power in Sharpie. The large cord in the middle that runs over the air vent is the monitor power cord.
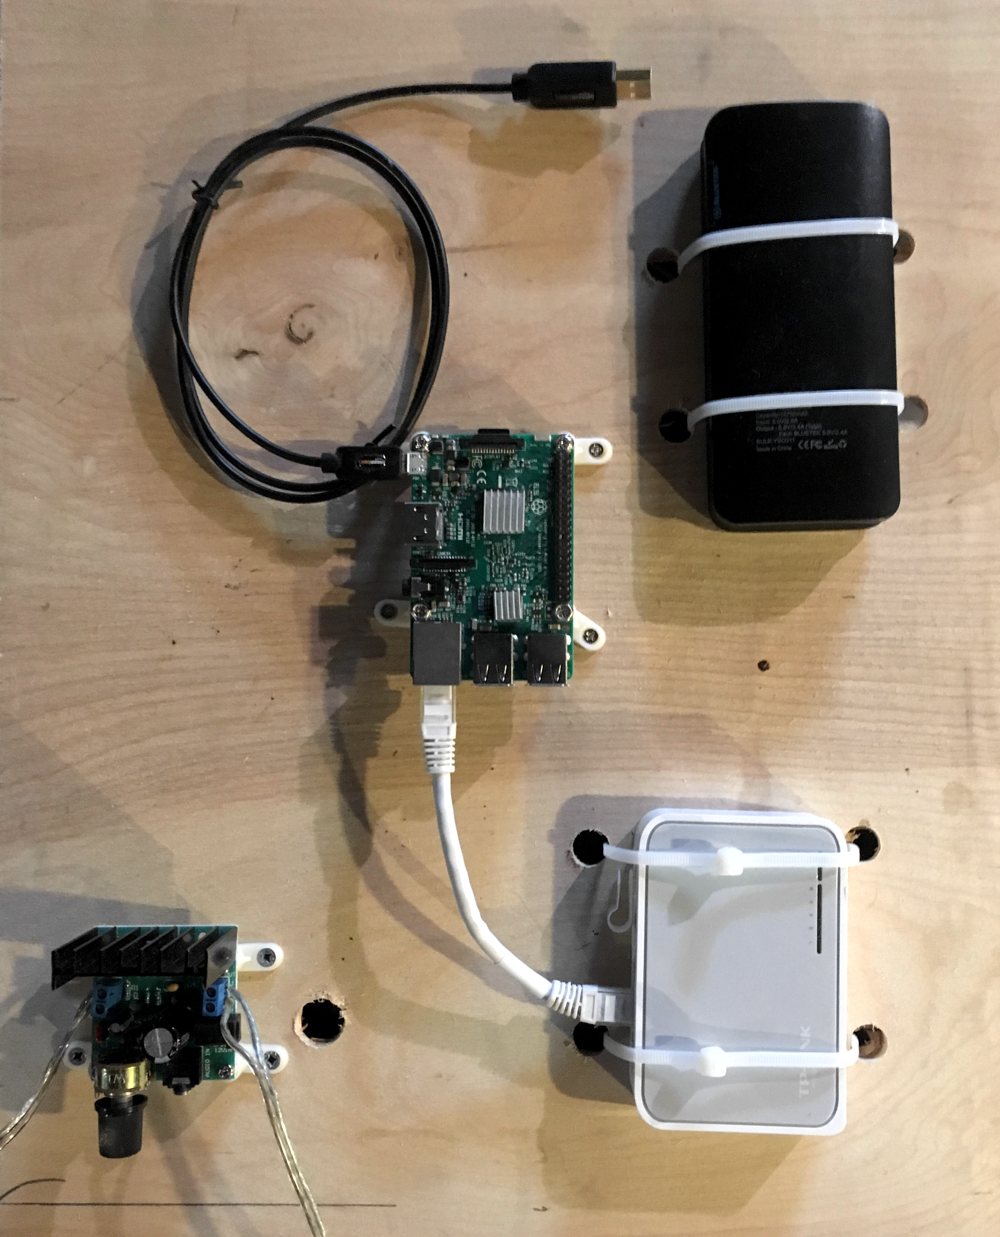
I mounted the boards to a thin piece of plywood with standoff feet, or zipties.
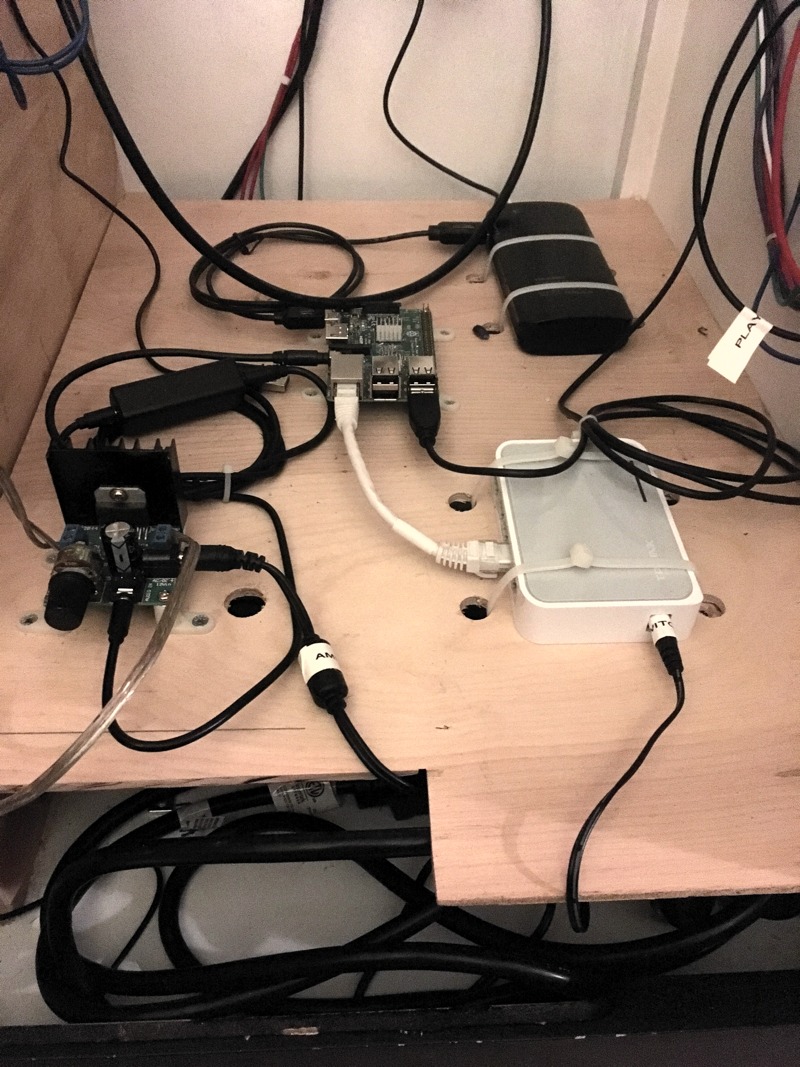
Here it is again sitting inside the cabinet. The plywood sits on MDF rails. You can slide it out to access the power supply and fuses.
Comments
classicarcadeprojects