In my third and final post on the control panels, I show how I locked them down using some angled steel so they can’t be opened by players.
An authentic Track & Field cocktail has these shaped metal cross bars which the control panels bolt into to secure both the control panel and the glass.
I thought I’d be able to use a more-standard latching system to lock down the control panels on my reproduction, but I later realized that there’d be no easy way to reach up from underneath and unlatch. As it turns out, the cross bars also add some much needed strength to the top of the cabinet. I suppose I should stop thinking I can improve on the original design.
I went looking for suitable pieces of metal at the local Lowes, and just by picking up sheets of aluminum and steel it didn’t take long for me to realize that I’d need some serious gauge, flat steel to resist bending. Not surprisingly, angled steel was much stronger so that’s what I bought.

Using my Dremel, I cut the angled steel to length, and notched out part of the sides so it’d rest nicely on top of the side braces which support the control panel. I would not recommend cutting this with a Dremel. I demolished at least six cutting wheels in the process. What I should have done is clamped it in my vice and used a hacksaw, but my hacksaw blade was all bent up and I didn’t feel like making another trip to the hardware store to buy a new one. In my mind’s eye, cutting with the Dremel was going to be faster and easier anyway. It wasn’t.
I laid the cross bars onto the correct position in the cabinet, marked where they lay and used a chisel to notch out a resting spot. I drilled holes for the screws to hold the cross bars in place and I tried my best to counter sink them.

Securing the control panel to the cross bars was the tricky part. An authentic Track & Field cocktail control panel has three screws that go through the top of the control panel. They’re not positioned well because they obscure the text of the overlay. I decided to only use two screws and to locate them where they won’t be obscuring anything noteworthy on the overlay.
You can see where I chose to place my control panel screws. An original unit has three.
It took some careful measuring to drill the holes in the right place, but I pulled it off. I ordered these black finish torx screws from Twisted Quarter and they secure with nuts. For the same reason I couldn’t change the lock down method, I couldn’t just have loose, inaccessible nuts underneath the control panel. This is where I wish I knew how to weld, because I’d just clamp the nuts down and tack weld them into place forever.
I had heard some good things about J-B Weld, so I bought some of their Kwik Weld epoxy which the packaging advertised as useful for metal. I screwed down the nuts and then gobbed some epoxy around them. When it was dry, I removed the screws.

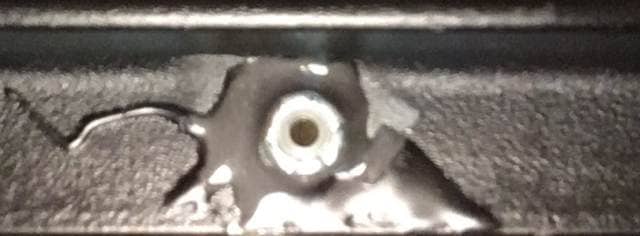
A rather horrible picture of the nut held on by J-B Weld
I bought and cut the pieces of angled steel quite a bit earlier than I could use them, so they were sitting around in my garage for a few months. Just over that short amount of time they had started to rust. I cleaned them up, taped over the screw holes with some tiny pieces of painter’s tape and painted the whole thing with some satin black Rust-Oleum all-in-one spray paint.

Comments
classicarcadeprojects