Mounting the completed control panels required me to prime and paint the rest of the cabinet first, otherwise I’d have to paint around my other finished parts. With the painting done, I was also able to finish up the woodgrain sides and install the coin door.
I had planed on only painting the exposed surfaces of the cabinet, but I had read that it’s a good idea to prime all off your MDF because of its propensity to absorb moisture and swell. So I gave the entire thing a thick coat of primer.
The difference between the rest of the cabinet and the control panels and bottom of the cabinet is that I did not try to use spray can primer. I rolled and brushed the whole thing.
I’ve mentioned before that I’ve been painting with the Rust-Oleum Satin Black premixed paint. There’s a lot more of it here. These are the sections which are underneath the control panels. I also painted around where the monitor and control panels will sit. When I’m finished with the entire project I’m not really expecting everything to be tightly constructed and I don’t want any white primer showing up between the cracks upon inspection.

Let me just say that it took many coats — at least four or five — to get a nice, strong, finish. It was a slow process. Paint, dry, sand, repeat until I was happy with the results. Thankfully, we’ve had some exceptionally nice fall weather which was just right for painting.
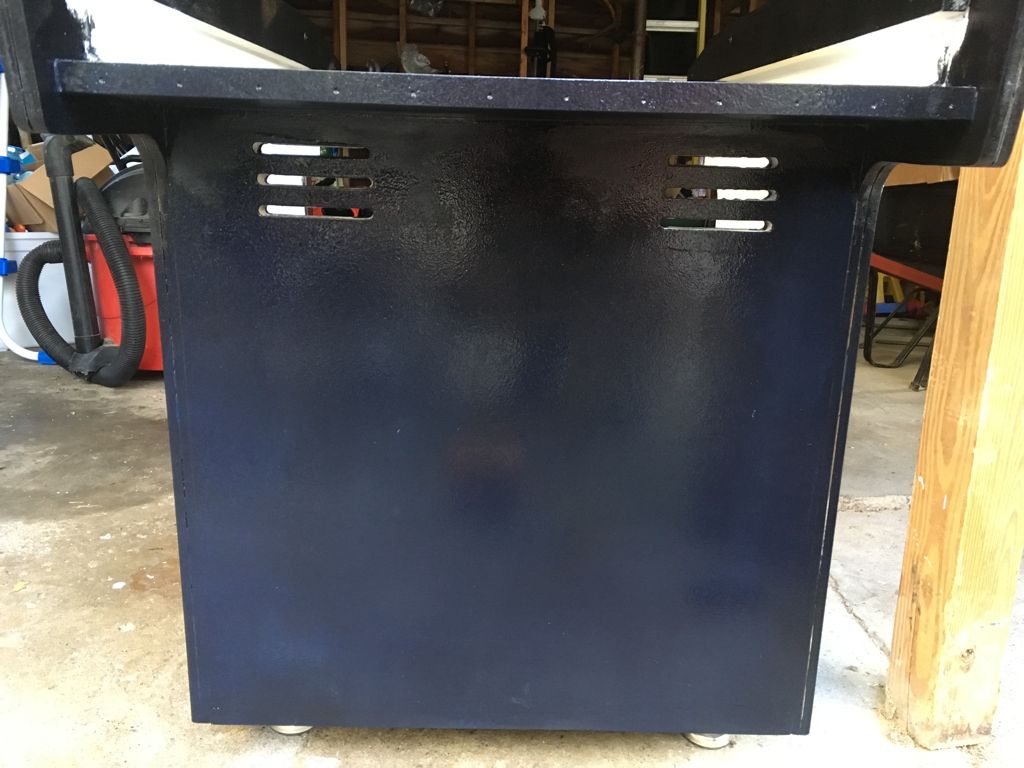
I took this after rolling in the final coat of paint. The purpule tint is because it was still wet.
Once I finished painting, it was time to put on the woodgrain finish. It’s my understanding that authentic arcade cabinets used laminate for that classic woodgrain look. I thought I’d make use of modern technology and reduce my labor by using a simulated woodgrain vinyl.
I ended up buying DI-NOC vinyl by 3M. From what I understand this stuff is used on cupboards, automotive dashboards and side mirrors and other various car parts. Based on this information, I really wasn’t too worried about its durability.
The biggest problem I ran into was finding someone who sold it in the correct width. At it’s longest point (control panel to control panel) the cabinet is about 40 inches wide. Eventually, found that metrorectyling.com sold appropriately sized sheets. I tried to pick a finish that looked like an original cabinet. I wouldn’t say that I nailed it, but it is very close. The product code I ended up with is “DINOCWALNUT” which you can probably guess is simulated walnut.
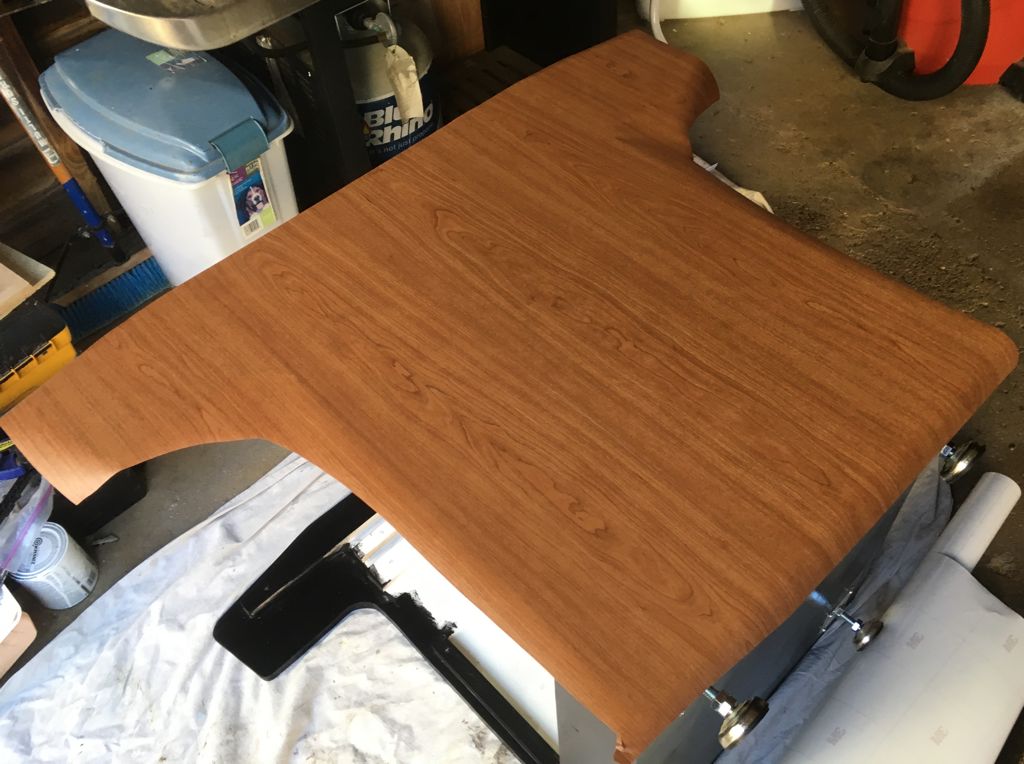
Before applying the vinyl, I roughly cut the sheet to match the cabinet profile to minimize the chance of the vinyl curling over and adhering to itself.
I’m not going to go into deep detail on applying the vinyl, there’s already lots of helpful information about this on the internet. I’ll just say that I used the method where you lay the material over a cylinder and as you apply the vinyl the backing rolls off underneath the cylinder. The cardboard shipping tube was adequate for the task. Getting the alignment right was the hardest part, but by going slowly I was able to work the vinyl onto the primed surface and push out any air bubbles.
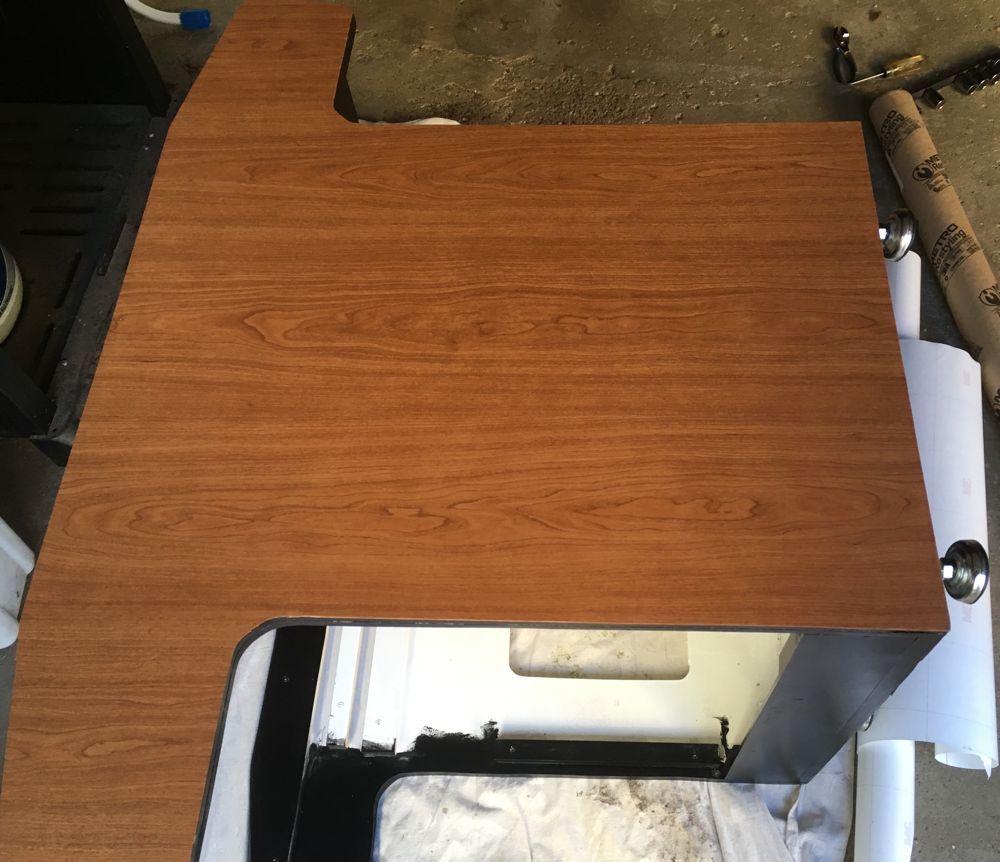
Once the vinyl was on, I did another rough cut of removing the excess followed by a precision trim with a utility knife.
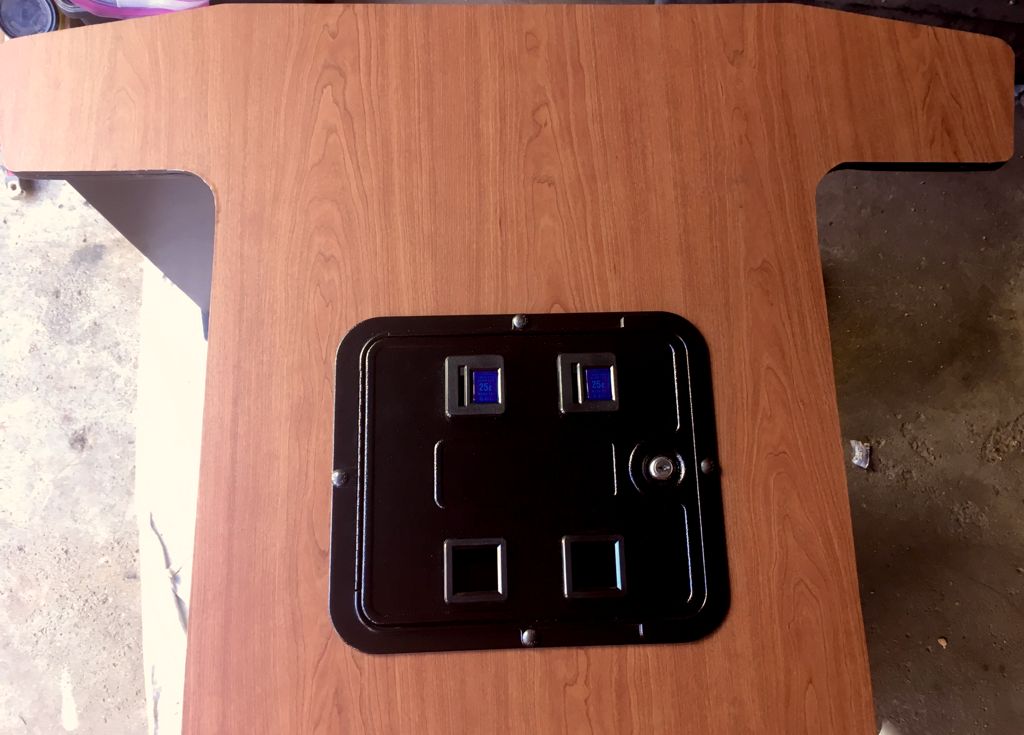
It was more or less the same process with the other side, but I had to cut out the hole for the coin door after the vinyl was applied. I then drilled holes for the coin door bolts and dropped in the coin door.
Needless to say, I'm satisfied with the final results. How could I not be? It's beautiful.
If I did it over, I woud sand the black excess paint that bled over the edges from my roller. Because I had to put on so many coats, there are a couple of spots where can see the thickness of the paint build up as a raised edge under the vinyl.
Comments
classicarcadeprojects