My last update was about the particle board construction of the control panels. There’s a lot more to them which hasn’t been covered so let’s get going!
Constructing this game from scratch without complete plans has been challenging at times. Without complete plans, I wasn’t sure how the control panels were supposed to open. Thankfully, there were a few Track & Field cocktails elsewhere on the internet which I could reference. Initially, I didn’t think I’d be able to use a piano hinge on the control panels, but it ended up being the correct choice.
I was hoping to find a piano hinge close to the right size 23 ¾”, but I had to get one much larger. It was easy enough to nip away the excess length with my tin snips. I then zipped through the hinge rod with a cutting wheel on my Dremel rotary tool.

Let me tell you that it was a real PITA getting the hinge set to the right height on the control panel so it would open and close correctly. Despite a lot of careful measuring, it took a couple of tries with a couple of tweaks. If you ever find yourself mounting a control panel like this, I would recommend only putting in a couple of screws in, testing and then putting in the rest. Yes, I actually did that myself.

I wanted a nice surface to adhere my overlays to, so I once again primed and painted. I wanted to make sure to get at least a couple of coats of black on incase the overlay didn’t quite cover the length or height of the particle board. I used the same paint as mentioned in this post.

The plans I received from jackobud included measurements for the button holes. I just checked the plans for accuracy, drilled some pilot holes and then bored out the button holes with a 1 1/8” spade bit.

Putting the overlay on turned out to be easier than I thought, but I had a major “oh crap” moment while cutting out the holes in the overlay. I was using my utility knife to cut out the overlay when I slipped and put a huge gouge in my beautiful overlay. Someday I will probably replace it, but as I’m sure you’re aware, these overlays are expensive. Even though it’s annoying to me, it’s really not that bad when it’s all said and done.
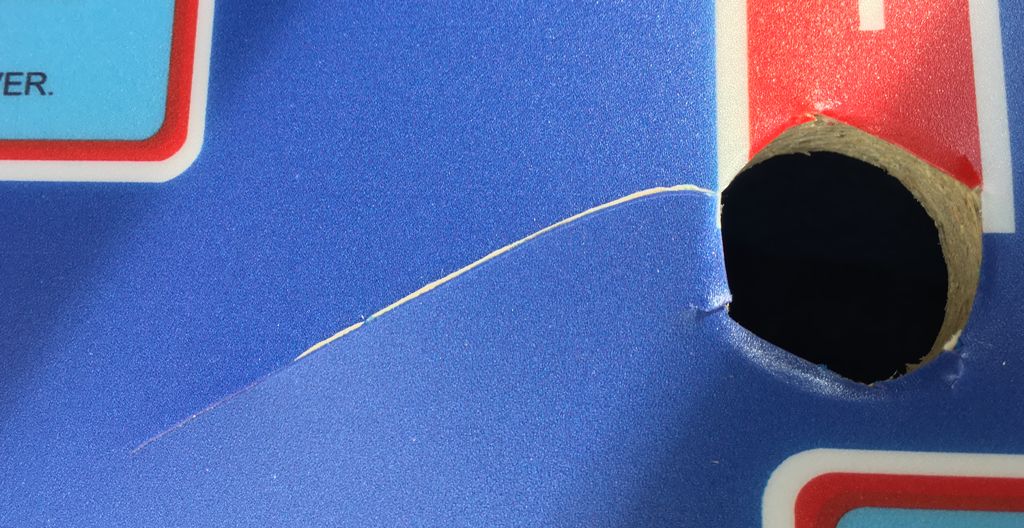
Ugh. It makes me sick to even look at this. A slip with the utility knife.
The buttons I ordered are Goldleaf buttons from Ultimarc. I thought these would be good Track & Field buttons because they have tiny leaf switches integrated, but in the end they’re kinda mushy for my tastes. I’ll probably switch these out with something later too. The other thing that’s rather annoying which you might be able to see in the image is that the blue buttons are slightly smaller than the white and the red. One final oops, the Player 3 and 4 buttons are a tad to the left. I swear, everything about this project is a test of my ability to cope with my OCD.
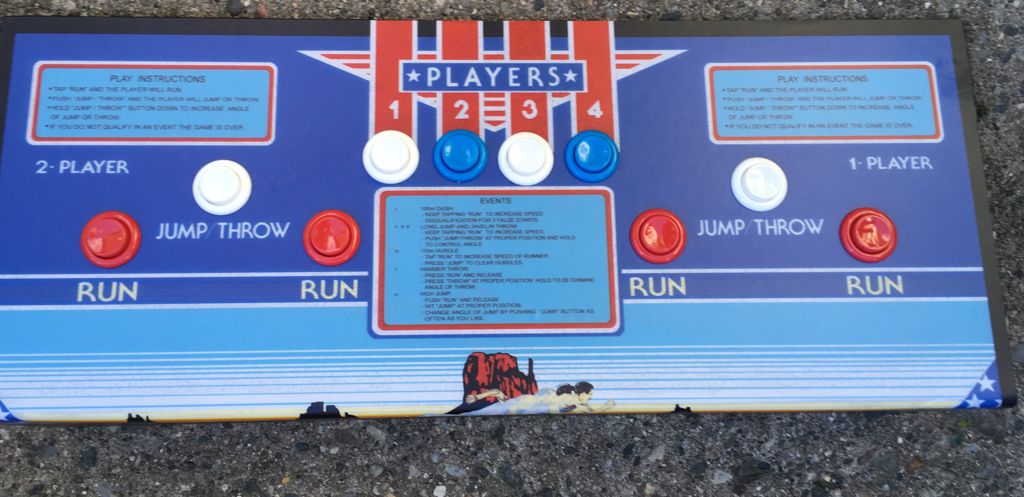
It's not perfect, but it looks nice anyhow.
Comments
classicarcadeprojects