I’ll end up writing more posts about it eventually, but work on my scratch-built Track & Field concluded last January. Completing the coin mechanism was the last major step in getting the cabinet in working order. Once that was done, I talked to the facilities manager at work who gave me permission to place my game in the building I work in and I moved it there in February.
Because the game is difficult, I set it to two plays per coin and told everyone I’d donate the earnings from the game to Ronald McDonald House. The game was somewhat popular at work for the first few months. There were some high score competitions and I know several people looked up winning tips and tricks on the internet. Interest petered out around August, so I shifted the game to Hyper Sports – Track & Field’s first sequel. That game got a few plays, but not too many compared to Track & Field. In the end, I collected just over 40 dollars for Ronald McDonald House, which I intended to get over there before the end of the year. I might just go to a McDonalds and jam all 40-something dollars worth of quarters in one of those little boxes they keep on the counter 😜.
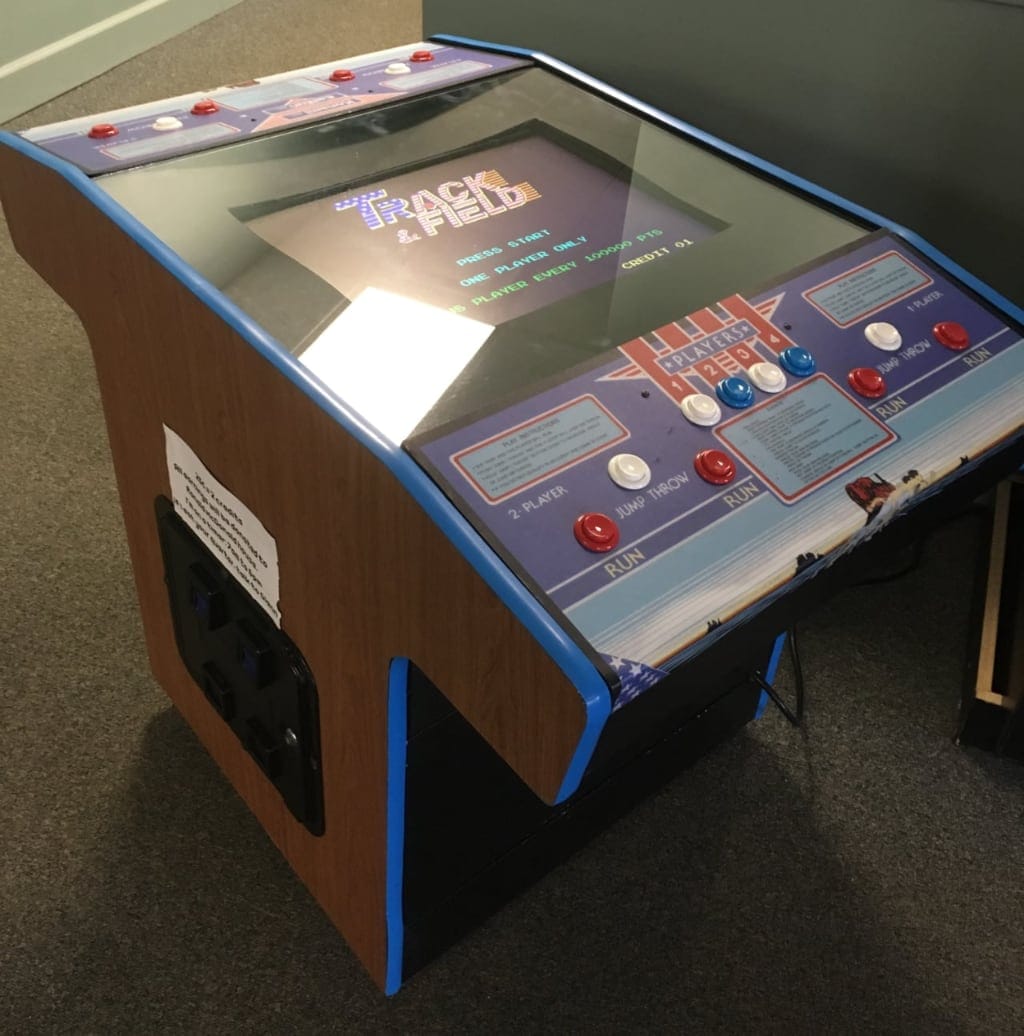
Here's an image of my Track & Field after I deployed it to work. I fixed the cardboard bezel up after I took this picture; it looks awful here, but it's not that bad when you see it.
What’s Left and What Needs Revisiting?
Now few notes about work that I’d like to re-visit.
First, the Control Panels. I’m not sure how this happened, but the players three and four control panel sticker warped and has a nice wrinkle in it. The players one and two lost adherence from the painted wood at the rounded corner and the sticker cracked right down the middle. It’s really not noticeable because the control panel is painted black underneath, but still it’s annoying. Having a bigger round-over on the control panel edge I fabricated would help for sure. Maybe someday I’ll build another set.
Second, the bezel. I thought I’d be able to fabricate a bezel using poster board following these instructions by “Tailgunner”. It did not go well. Not because of the instructions, but because I seem to be horrible at precision cutting and folding. In the end, I took a large piece of poster board and cut a monitor sized hole out of the middle and installed it. It was good enough for filling in all of the space. I’ve since noticed that there are plastic bezels designed for LCD screens, like this one from Twisted Quarter. I’ve already purchased one of these for my next project, and if it works out well, I’ll purchase another for my Track & Field.
Third, the wiring. When I did the electrical wiring, I set out to make something well-built and organized. When I did the wiring, I thought it was okay, but I’ve already done some wiring for my next project and I’ve learned a lot since then. This made me realize that my last wiring job was a real mess. Again, if I get sufficiently motivated, I might revisit my wiring job here.
Similarly, and fourth, the Raspberry Pi. This turned out not to be such a great choice for me. I know people use these all the time to make retrocades, but it didn’t work out well for my use. I wanted to use MAME specifically with my customized scripts and Raspbian to best simulate a real arcade game. I have had a lot of performance issues and all my trickery still has not resulted in the ability to save high scores. I’d also like to experiement with the CRT effects, but I was unable to make work on Raspbian ports of MAME. Were I to do this again, I’d use a micro-ATX board and a full-blown Linux distribution.
Finally — and most exciting — is the coin door badge. I’ve been working for a long time on making a reproduction Centuri coin door badge. This project is still active, but it’s slow moving because I’ve been dependant on the rest of the community for measurements, verification, 3d printing and aluminum milling. There will definitely be a post about this once it’s finished.
Reception
I was very surprised at how well my game was received. Despite it’s shortcomings, several of my coworkers believed this to be a real arcade machine and not a reproduction I built myself. Most surprising to me was that many people asked where I got one of those “old tube” monitors. There was nothing old about the monitor, it was just on old 19” 4:3 Dell LCD I rescued from work. I guess if you put it under a sheet of glass it looks enough like a CRT to fool some people. Weird.
Comments
classicarcadeprojects