I learned a lot building my last arcade machine with the various saws I own. I also learned that it was a pain in the ass. For my Ms. Pac-Man I wanted to try something different and go with a CNC routed cabinet.
Since my last build, I found some better resources for arcade cabinet plans. Most notably Classic Arcade Cabinets. The guy who runs that site hangs out in the Killer List of Video game (KLOV) forums and he tries to make sure the plans are accurate as possible. The good news was that he had plans for Ms. Pac-Man.
Getting access to a local CNC router was harder than I thought. I thought there’d be some local places online that would just cut parts and I could go pick them up, but I had a hard time finding anyone that was close. One of my coworkers informed me that he belongs to our local makerspace and they have a CNC machine capable of handling 4x8 sheets of plywood.
Learning how to operate a CNC machine was not on my bucket list for this project, but my coworker had some experience and wanted more. I told him that in exchange for cutting my cabinet I’d pay his makerspace fee for a month. Done deal.
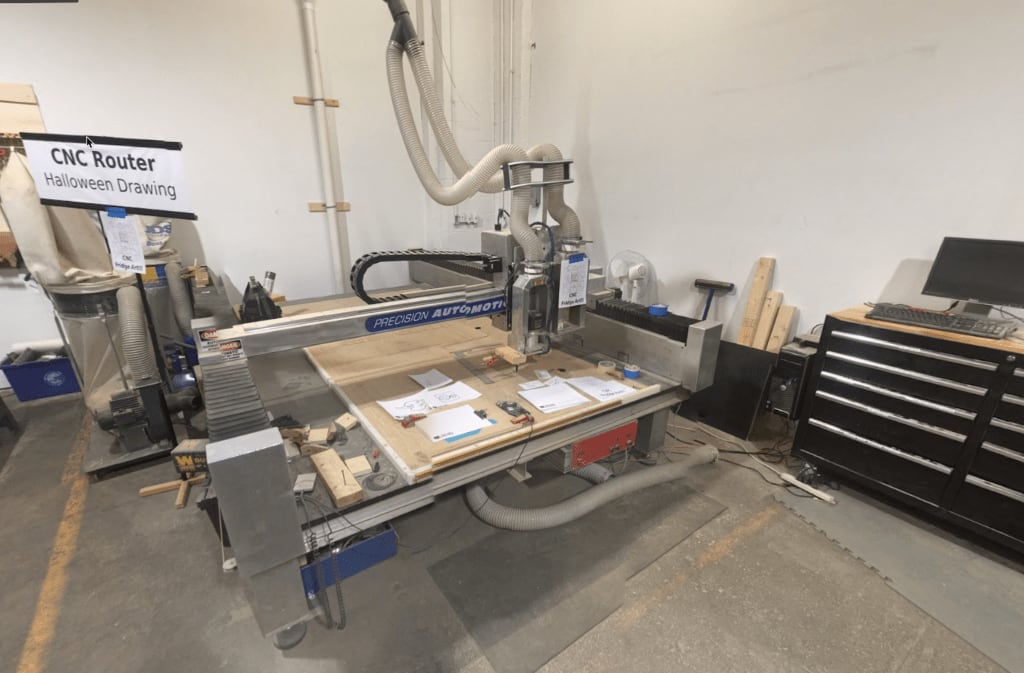
The monsterous CNC machine at the makerspace
My first hurdle was getting material to cut. My last build was Medium Density Fiberboard (MDF). MDF is easy enough to work with but it is heavy, and I know it’s susceptible to absorbing water and warping as a result. It worked will enough for my cocktail, but using it for an upright didn’t seem appealing. I also wanted to get some experience with plywood, so that’s the direction I went.
I looked around at cabinet grade plywood sheets at the big box home improvement stores and found that the selection and prices varied wildly. I wasn’t sure what would work best, so I asked in the KLOV forums. Cabinet grade plywood was most important, and I was warned to watch out for big box stores stock because it is not really ¾” thick. Sure enough, the community was right. I ended up going to a local lumber yard and buying four sheets of cabinet grade birch plywood. It was not cheap, but it was within an eight of an inch of what it was supposed to be.
My coworker converted the VCarve Pro files from Classic Arcade Cabinets to Fusion360. Fusion360 is free for non-commercial, hobbyist use; VCarve Pro is not. After the cabinets were cut he discovered this was an unnecessary step because the makerspace actually did have a license for VCarve Pro. Oh well.
Anyway, the results were satisfying. I was worried about voids in the plywood, but they were minimal; another reason why quality material is important.


It took me a while to assemble the pieces, and I found a few problems with the plans. The handle holes and vent holes were incorrect (see the picture). The top of the cabinet was also missing from the plans, so I ended up fabricating one by hand with some scrap and my own router. I let the site owner know and he said he’d fix up the files.

I often find myself saying, “I could leave the holes wrong and nobody will notice,” but the thought of that is irritating to me. I’m going fix them by hand before I paint the cabinet.
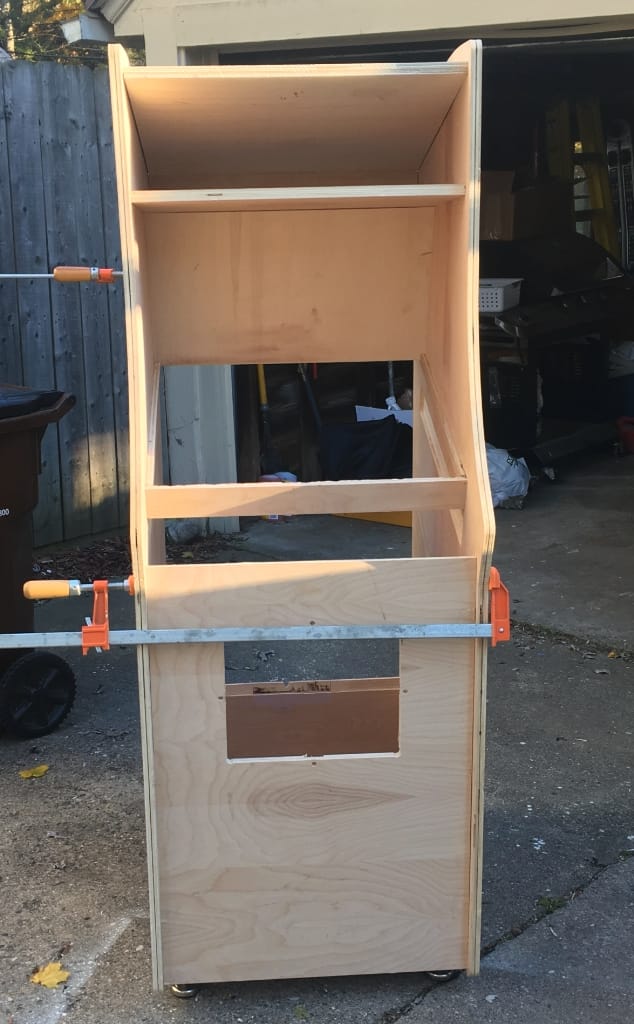
The assembled cabinet.
Links
- Classic Arcade Cabinet plans
- Scratch Build: Which Plywood? KLOV thread
- CNC operator’s Etsy leatherwork site
- Lansing Makers Network
Photo Credits
- The Makerspace printer is a screengrab from Google Maps
- My apologies to whomever’s Ms. Pac-Man back door pic I’m using above. I downloaded this a long time ago and I couldn’t find the original source to credit.
Comments
classicarcadeprojects