In order to continue assembly on my Track & Field cabinet, I needed to route out some speaker/vent slots before attaching any more pieces. Unfortunately, I wasn’t sure how to do it.
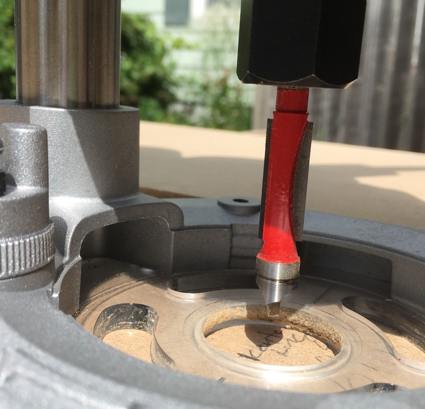
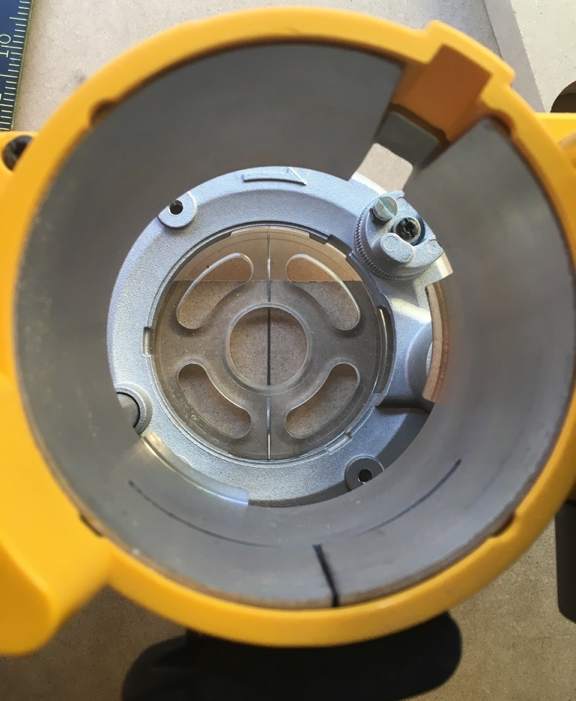
Panel pilot bit.
First, I bought a “panel pilot” router bit for my plunge router and then spent the next half-hour trying to understand how the router motor and bit attach to the plunging stand which all came in the kit. Once again, I did not find the instructions that came with this tool to be particularly helpful.
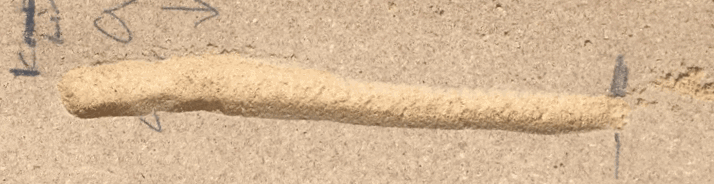
My attempt at cutting freehand.
I wasn’t expecting this to work, but I thought I’d try a shot at just doing a freehanded speaker vent slot on a scrap piece of MDF. As you can see, it did not go well.
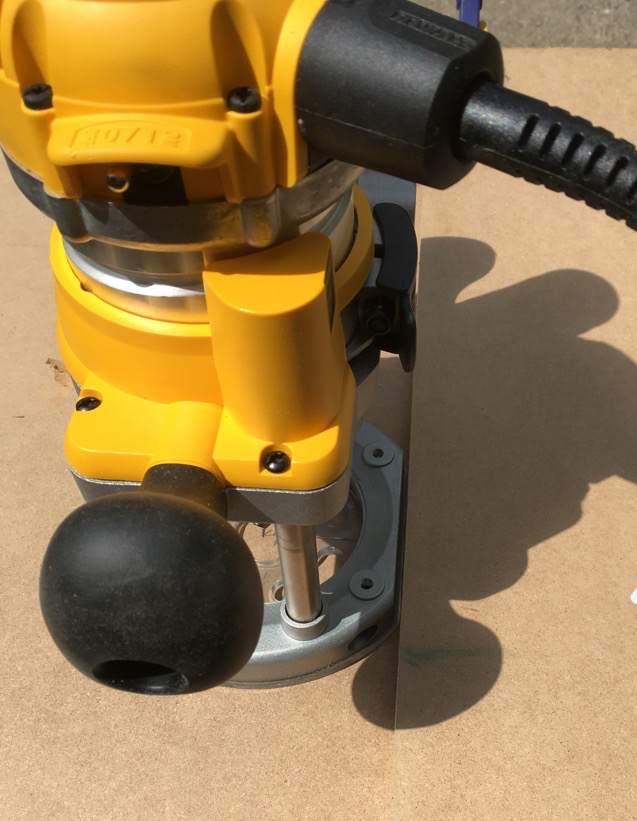
Routing with a straight edge.
My plunge router base has a flat, guide edge, so for attempt two, I realized I could just clamp down a straight edge and use it as a guide. The results were better, but I still needed more practice.
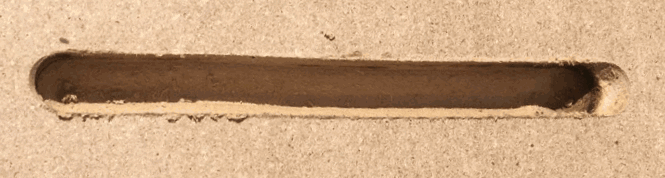
The third attempt was much better.
You can see that my third attempt was much better. The difference between the second and third attempts was that I used lots of shallow passes instead of fewer deep cuts. Routing out a little at a time made it easier to keep control of the router.
I was ready to move on and start creating some finished slots, but I knew that my best shot at getting reproducible results was to make a jig. I wasn’t at all sure how I was going to accomplish this, but a plan formed after some careful thinking.
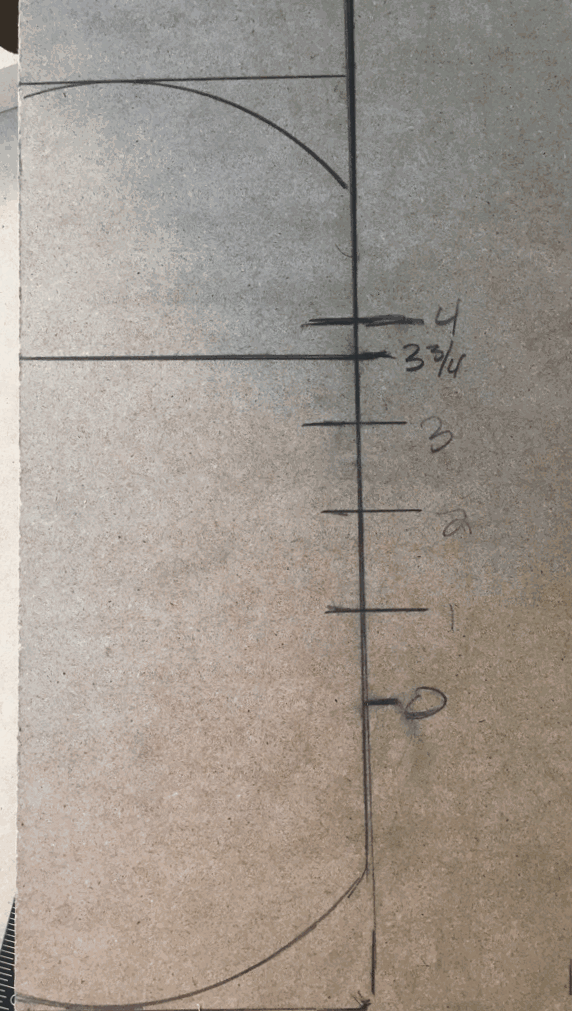
Tracing out the base and finding the center point for the bit for my jig.
I took another scrap piece of MDF and put my plunging base onto 3/4 of the wood. I think traced around the back of the base and the flat side. This would allow me to make a backstop and also establish a starting line for my straight edge. Using my square, I lengthened the line and by placing the plunge base on top I could mark close to where the bit would eventually be positioned. I marked this as zero — the starting point for my routing. I was able to quickly mark off four more inches. Not having any measurements of the slots, and using my 4” speakers, I took a guess that the slots should be about 3 3/4” long. I marked this off on my jig and then drew a straight line out across the board.
This is what the jig looked like before I cut it out.
By placing the plunge base on my 3 3/4” pencil marks, I was able to then trace around the top of the base eventually becoming my front stop.
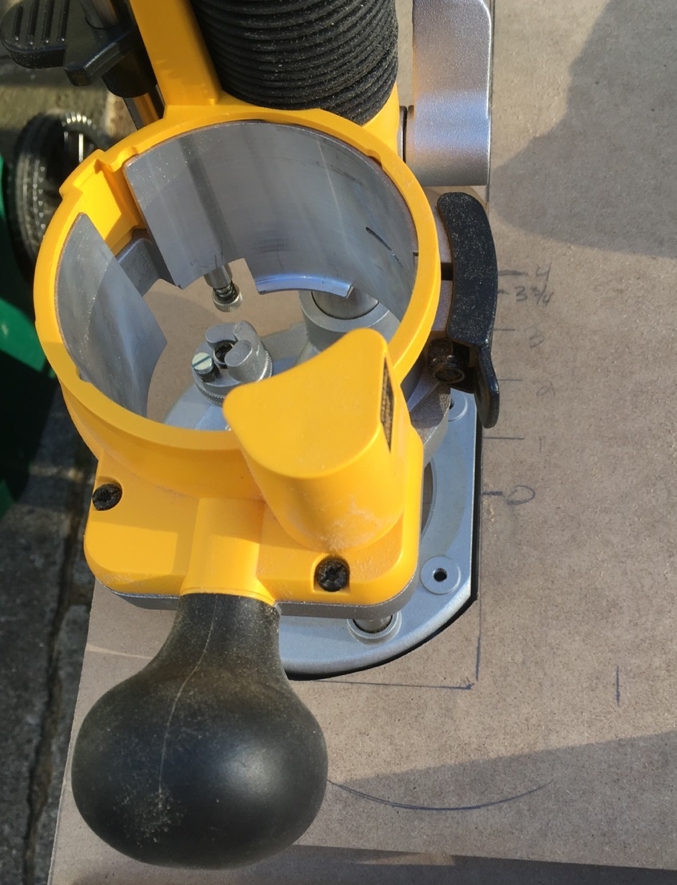
The router base sitting in the jig.

First cut made with the jig.
Using my jigsaw, I was able to cut away the extra and voila, a jig to help me make repeatable cuts. By sliding down the jig carefully and lining up with the last slots I am able to make fairly reproducible cuts.
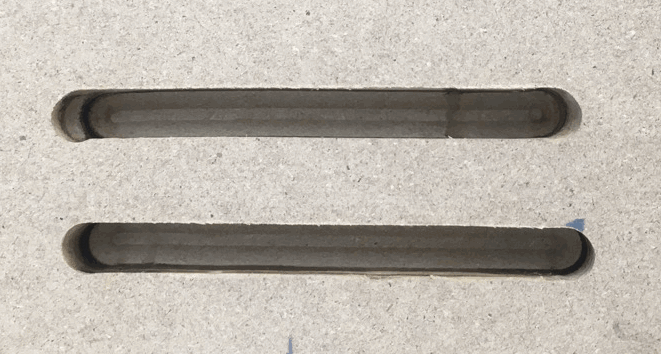
The second slot cut with the jig.
You can see that my second “production” slot is a smidge off from the first, but I think I’ll be able to even those out later.
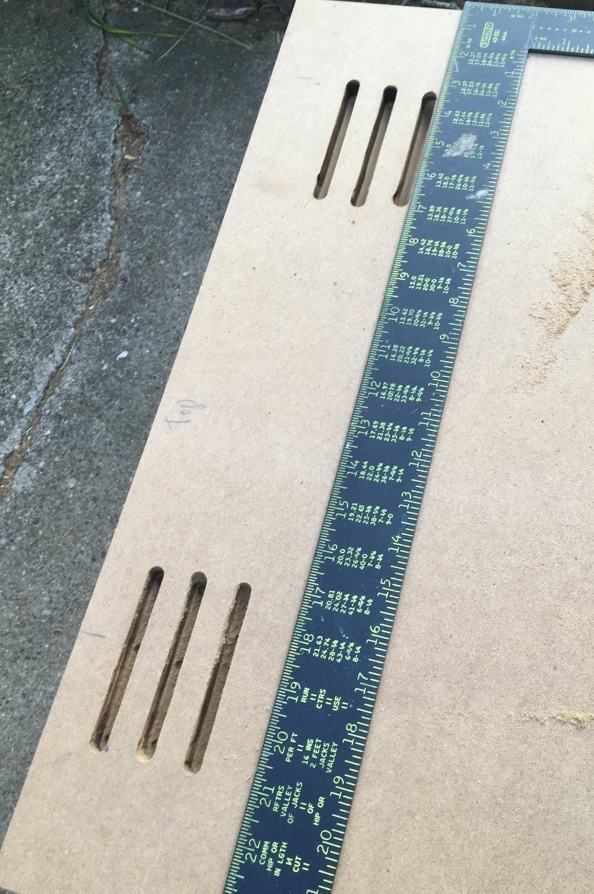
Ugh. I cut the last slot in the wrong place!
Many cuts later, this is what I ended up with. Unfortunately, I was so worried about making sure everything was lining up right and spaced out correctly that I wasn’t paying enough attention to the big picture and I made this mistake. Luckily for me, I have to finish the routing with a single pass from the opposite side of the MDF. Instead of starting over with a new sheet of MDF, I’m just going to fill in the hole before I prime and paint. Given its position under the cabinet and the black paint that will eventually cover, I don’t think it will be noticeable.
I have to make the same cuts on the other side of the cabinet on a much smaller piece of MDF that will be the bit above the access door. I am not going to do another post about cutting that piece, but it should be visible in future images.
Comments
classicarcadeprojects