My last post detailed how I was able to get full-scale prints of the Track & Field cabinet plans. The next step was to transfer them to Medium Density Fiberboard (MDF).
Using a regular pair of scissors, I cut away all the excess paper from the plans. I doubt that this is a unique strategy to me, but whenever I’m cutting away large portions of paper I don’t go immediately to the trim work. I will sloppily cut away big portions and stay an inch or more away from the detail. Cutting away the excess in this fashion reduces the changes of the extra paper hanging and the weight of it ripping the paper where you wouldn’t want it to rip.
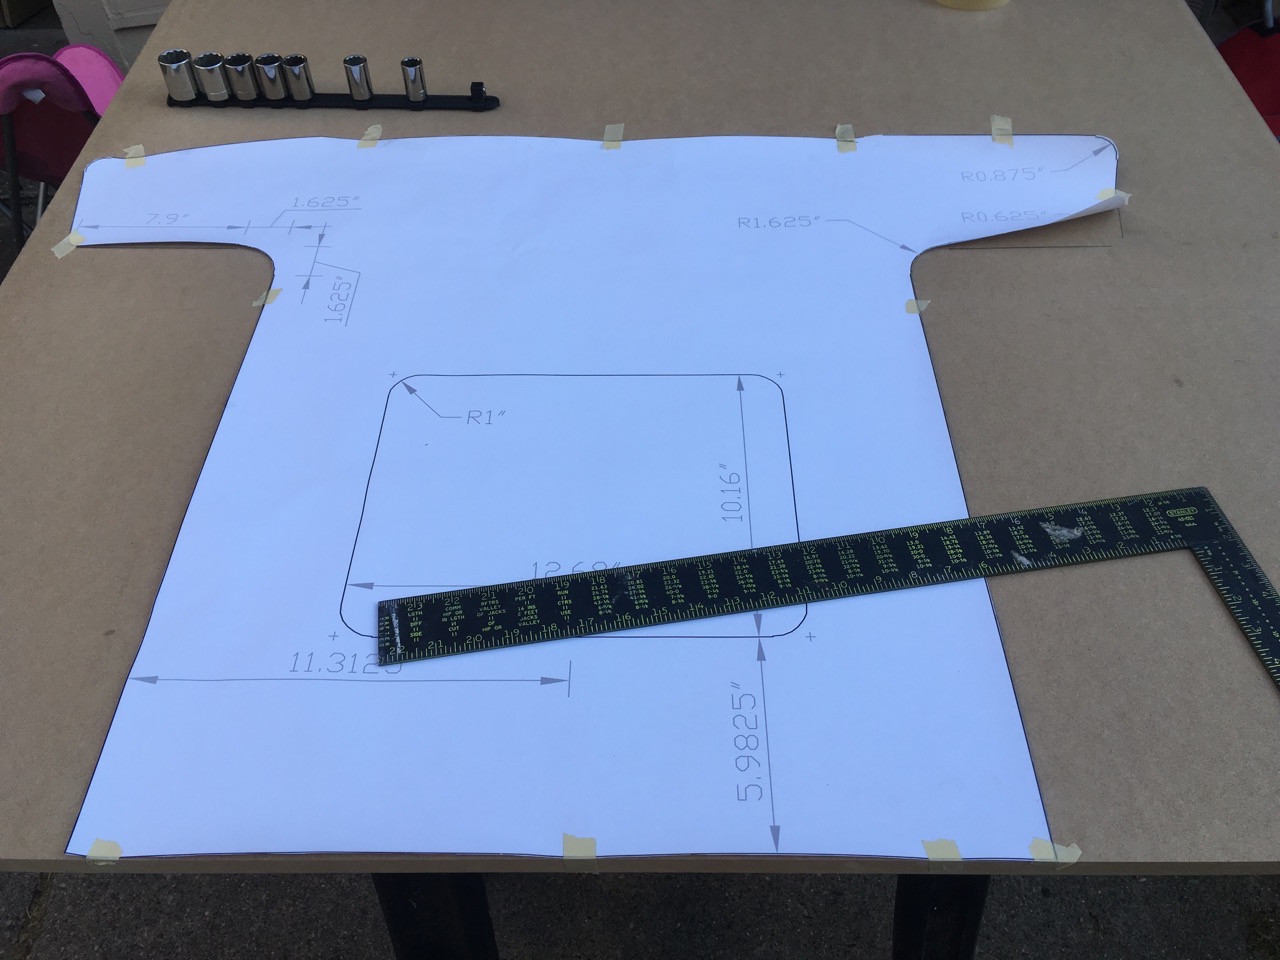
Once the plans were carefully trimmed, I wanted to mount them onto the MDF I purchased. The plans want to curl up into a roll and not lay flat. When FedEx/Kinkos gave me the sheets they had them rolled up and held with rubber bands. I also believe that their large format printer uses paper rolls for its source. In order to get a good tracing, I needed the paper to be flat.
I knew this was probably a bad idea, but all I had laying around at the time was some masking tape. So that’s what I used to hold down the plans. I was worried that the tape would rip the paper when I removed it and I was right. Thankfully it didn’t tear, it was more of removing a thin layer of the paper. It wasn’t too awful. The next time I do this I’m going to try blue painter’s tape.
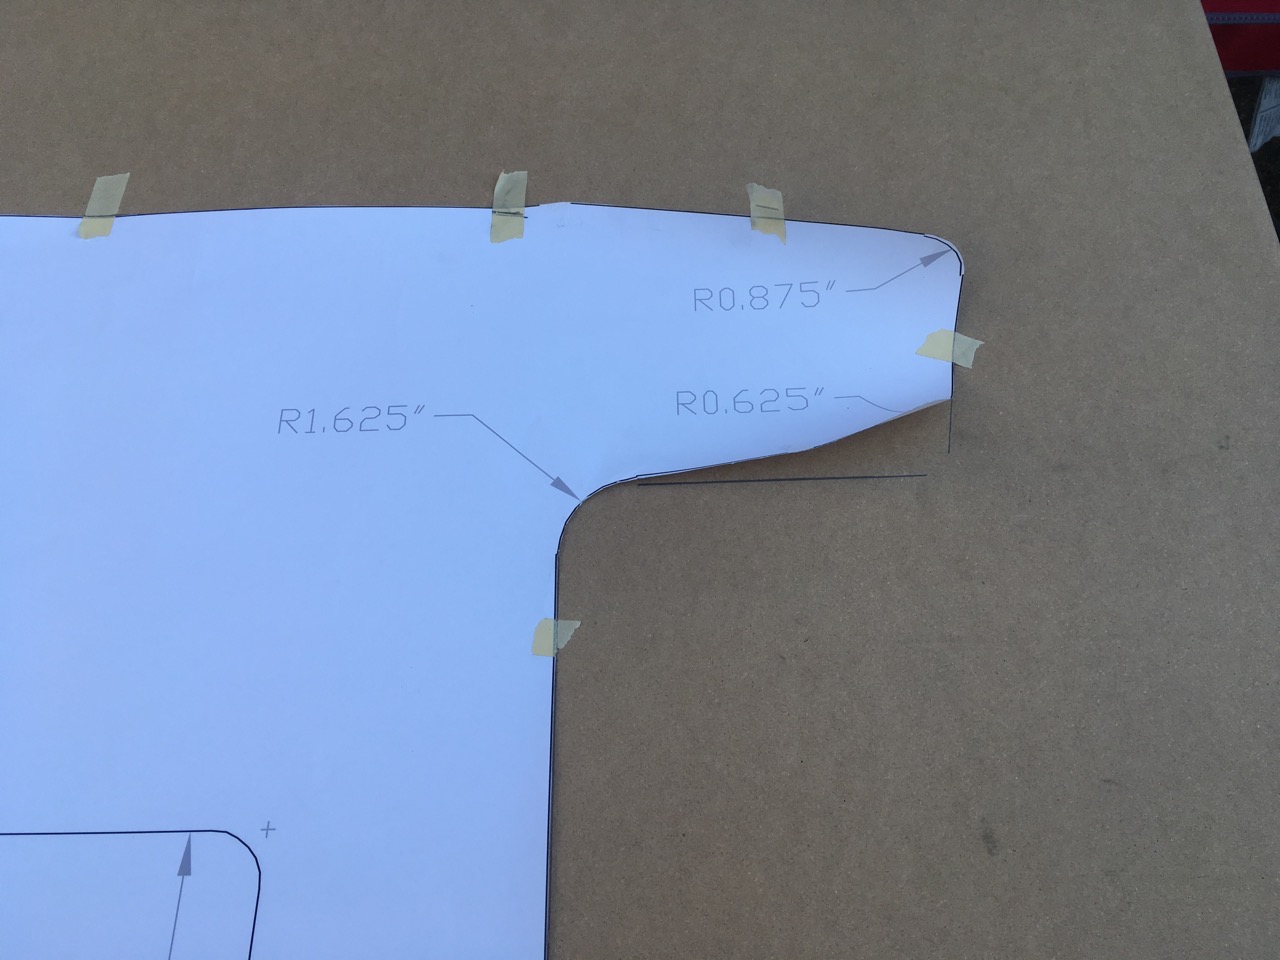
Knowing that paper has a habit of wrinkling up when you push up against it, I used my square against the bottom of the MDF sheet to ensure that I would have straight, square lines.
A close examination of the plans will reveal that some of the edges are not quite flush with adjacent lines. I’m not sure if the original plans were like this, or if it was an artifact of bringing them into Adobe Illustrator, but it causes a small problem. The curves are also not smooth curves because they could use some more points in them. You can see they’re just a series of short lines. When I trimmed the paper, I left a bit more space there.

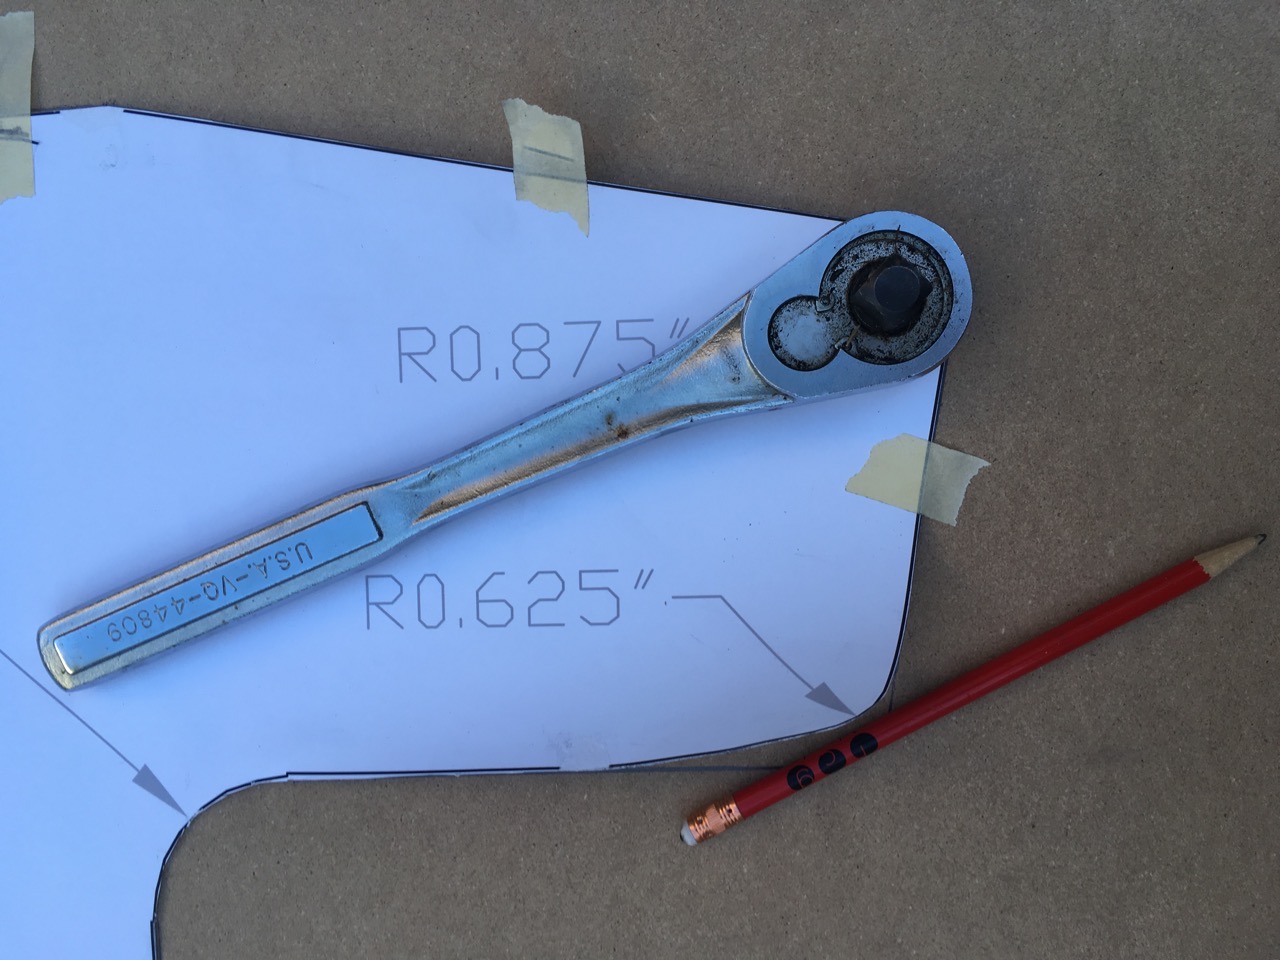
After finishing the straight lines, I needed a way to draw lines for these curves. I looked around for curves with similar radii in the garage and I found a couple of things to get by.
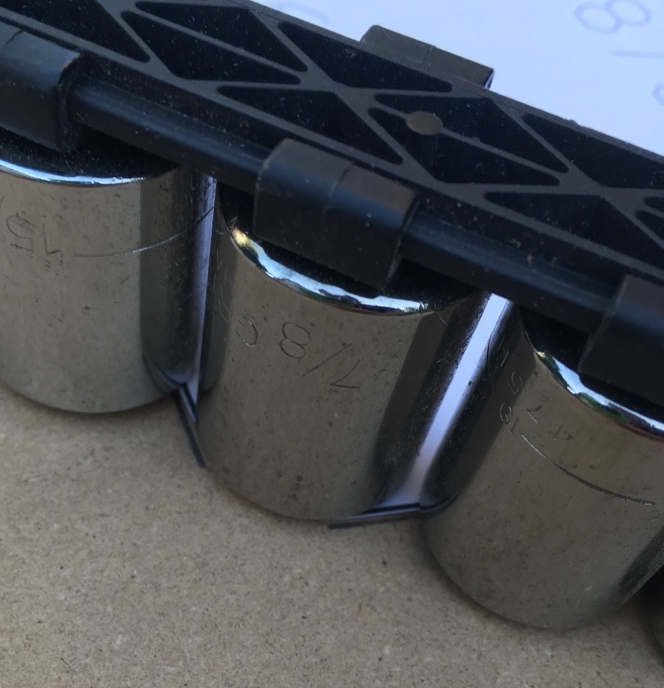
For the small curves around the control panel area, I found that the head of my 1/2” ratchet wrench was perfect, so I used that to trace in the gaps. The other small curves matched up well with my 1/2”, 7/8” socket. I had a more difficult time finding something with the right radius for the larger, bottom curves. I ended up using the roll of masking tape. It wasn’t a perfect match, but I was able to draw a little and move the roll around to get a decent curve drawn.
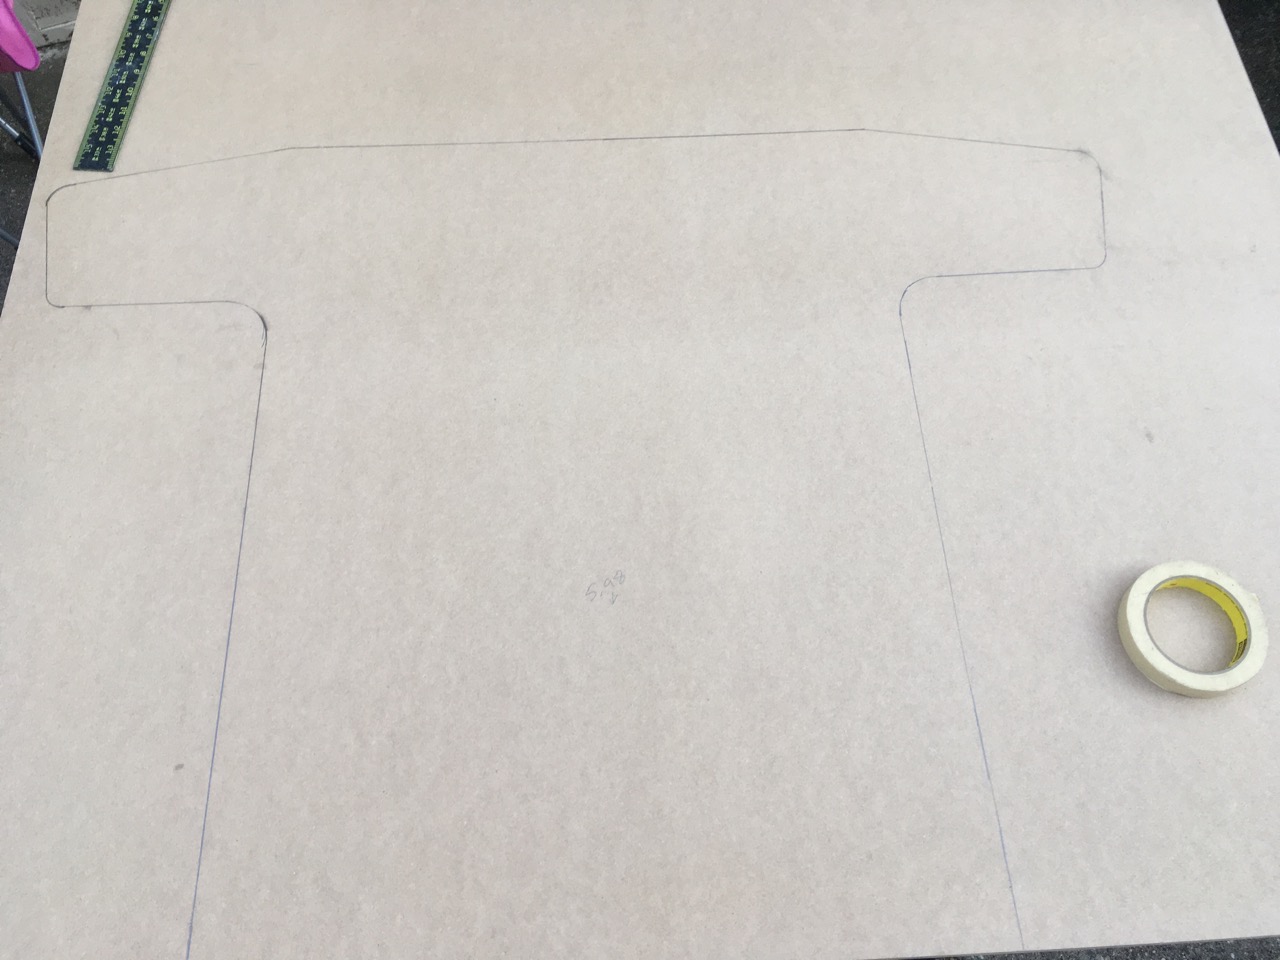
The last step was to carefully remove the plans from the MDF.
Just to make sure the two side panels are identical, I will cut the first side and use that as the tracing template for the second side.
I’m planning on doing a post just about cutting the sheets of MDF.
What you should know
The sheet of MDF you see in the pictures for this post was 4’ x 4’ x 3/4”.
Comments
classicarcadeprojects